Tutorial: Assembling an Alien Hydroponics System
Tutorial
Level :
Published on 02 septembre 2024
Discover how to easily assemble the V-System from Alien Hydroponics
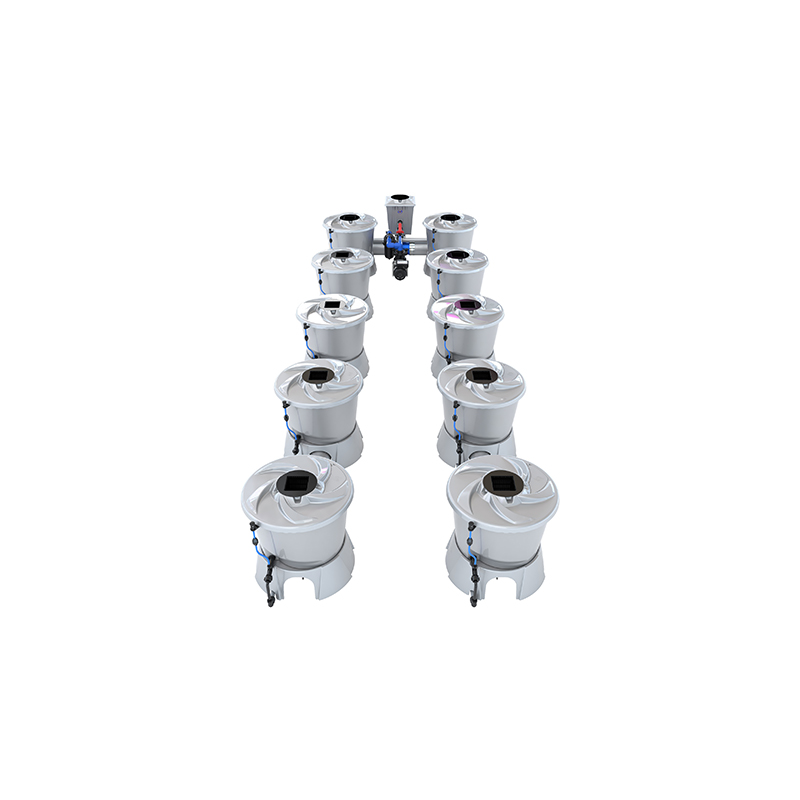
Have you chosen the hydroponic system V-System from Alien Hydroponics for your indoor cultivation? Congratulations, you've made an excellent choice!
This innovative system is designed to meet the needs of beginner and experienced growers alike. In this video, we provide a comprehensive tutorial to assemble and set up your V-System step by step. Thanks to its advanced technologies and optimized design, this system maximizes your yields while simplifying the management of your hydroponic setup. Follow our practical tips and learn how to make the most of this high-quality equipment.
Get ready to boost your harvests with Alien Hydroponics, the reference in indoor cultivation!
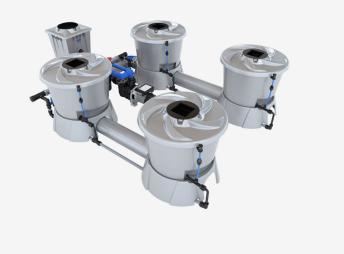
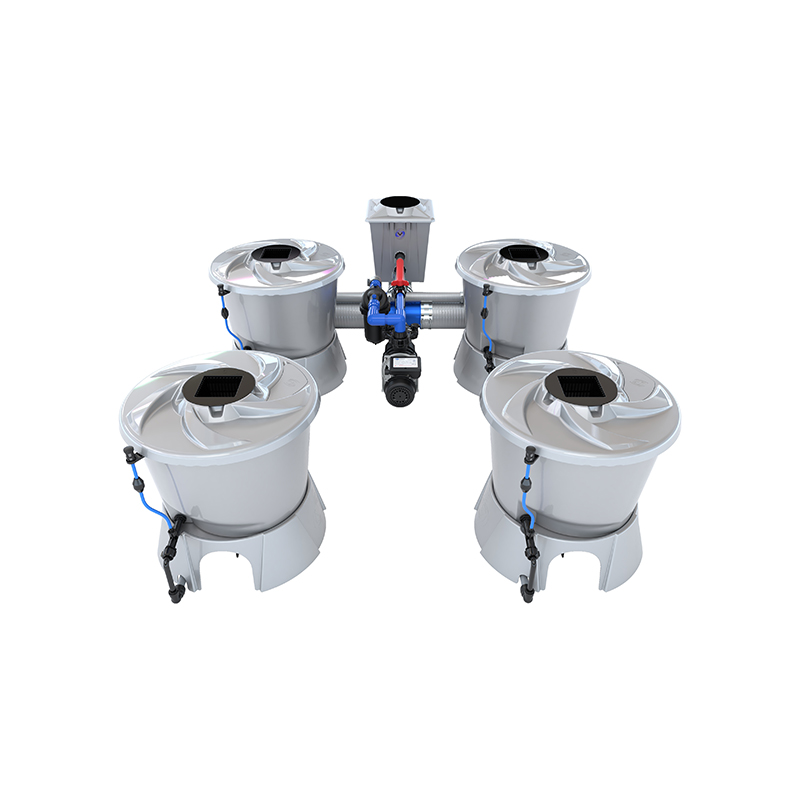
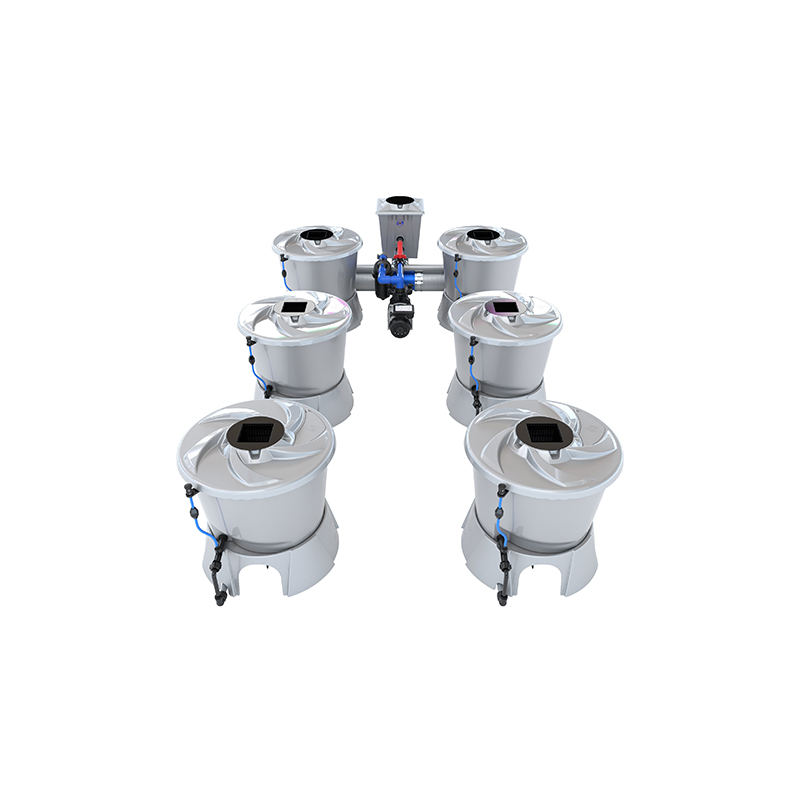
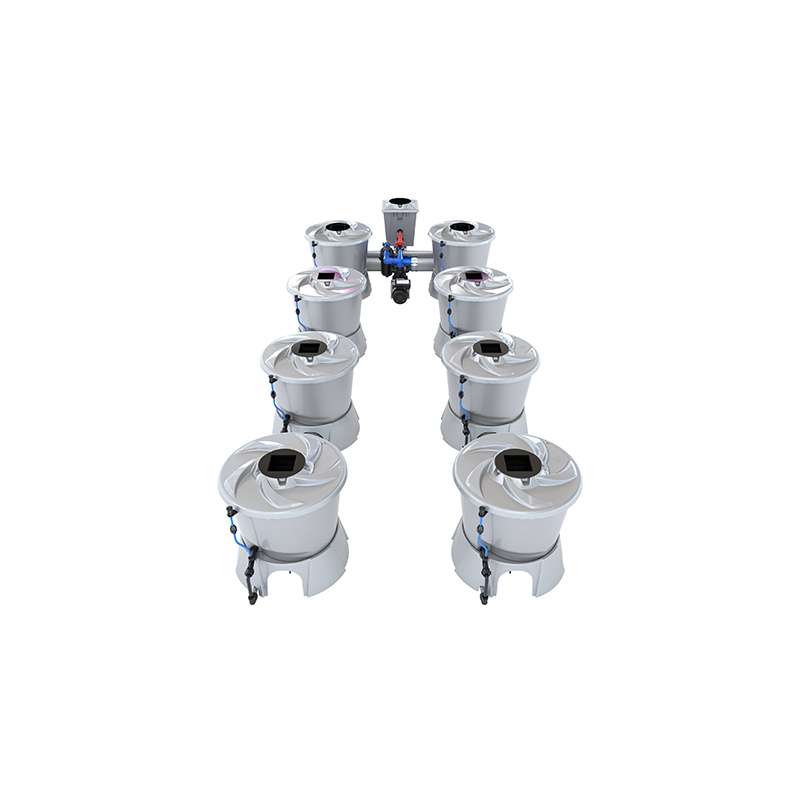
Discover the V-System range
Step-by-step assembly
-
Choosing the ideal location for your plants
Before you start, think about the optimal placement of your plants in your grow room. This will depend on the layout of the space, access to light, and air circulation. Once you have determined the location, you are ready to start assembling the system.
-
Preparing the components
Apply a thin layer of silicone grease to the ribbed edge of the fitting. This will make it easier to insert the pipes. Then slide the pipes onto the fittings and secure them with a 12 cm hose clamp before moving on to the next assembly. It is recommended to use an electric drill to tighten the clamps.
-
Installing the elbows and collectors
Apply a thin layer of silicone grease on the grooved edge of the fitting. This will make it easier to insert the pipes. Then slide the pipes onto the fittings and secure them with a 12 cm hose clamp before moving on to the next assembly step. It is recommended to use an electric drill to tighten the clamps.
-
Checking for leaks
Before tightening the clamps permanently, fill the system with water to check for leaks. If you find any, do not tighten the clamps further. Disassemble the fittings, reassemble them, and then tighten the clamps as usual.
-
Installing the base of the pots
Place the base of the pots ensuring that the opening is on the right side of the pipe, as seen from the collector. Install a silicone gasket on each fitting and tighten the venturi fitting at the top. Use the wrench to tighten fully.
-
Securing the Quick Connect fittings
Install the Quick Connect fittings by measuring the distance between the fitting flanges. Make sure to place pipe inserts in each pipe and secure them properly.
-
Assembling the reservoir fittings
Attach the reservoir fittings to the collector, ensuring that the smaller fitting is above the larger one. Place washers inside and outside the fitting and tighten them properly.
-
Installing the pump and hoses
Place the pump and the filter collector in the desired location. Measure the required pipe lengths, then attach the 40 mm and 32 mm pipes to the fittings. Don't forget to apply silicone grease on the connections to ease the assembly process.
-
Securing the terminals and installing the silencers
Install the terminals on the pipe and attach the clips above the pots. Then, connect the small blue pipe from the air filter to the silencer up to the venturi inlet.
-
Installing the lids and baskets
It is now time to place the lids and baskets into the system. This will help keep the components in place while making system maintenance easier.
-
Fittings for the chiller and float valve
Install the threaded fittings for the cooler into the collector pot, placing the longer side inside. The water outlet of the float valve should be oriented downward. Adjust the float valve to control the water level.
-
Connecting to the reservoir and starting up
Connect the float valve to a filling reservoir using a 16mm flexible hose. Fill the system up to the filling line indicated on the pots. Plug in the pump, check again for leaks, and get ready to grow.
Spare Parts and Accessories
- Out-of-Stock
Alien - UK to EU adapter
€2.90
- Out-of-Stock